When creating messages, you configure its appearance in the Content step. In the Delivery step, you can configure content-related features that do not affect the appearance of the message.
**Silent push notifications** do not have visual content. In the *Content* step, click **Silent Push Notification**, then click *Delivery* in the header and complete the remaining steps in the composer. The remainder of this section applies to regular push notifications. --- In the *Content* step, click **Push Notification** then **Add content**: 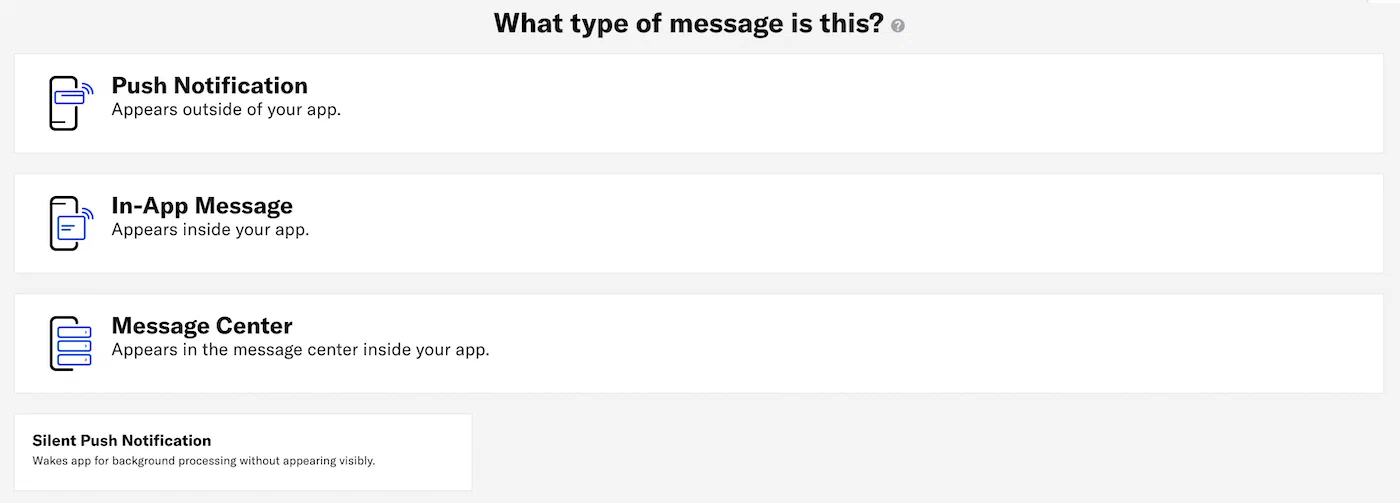 Now you can configure the body of the message: 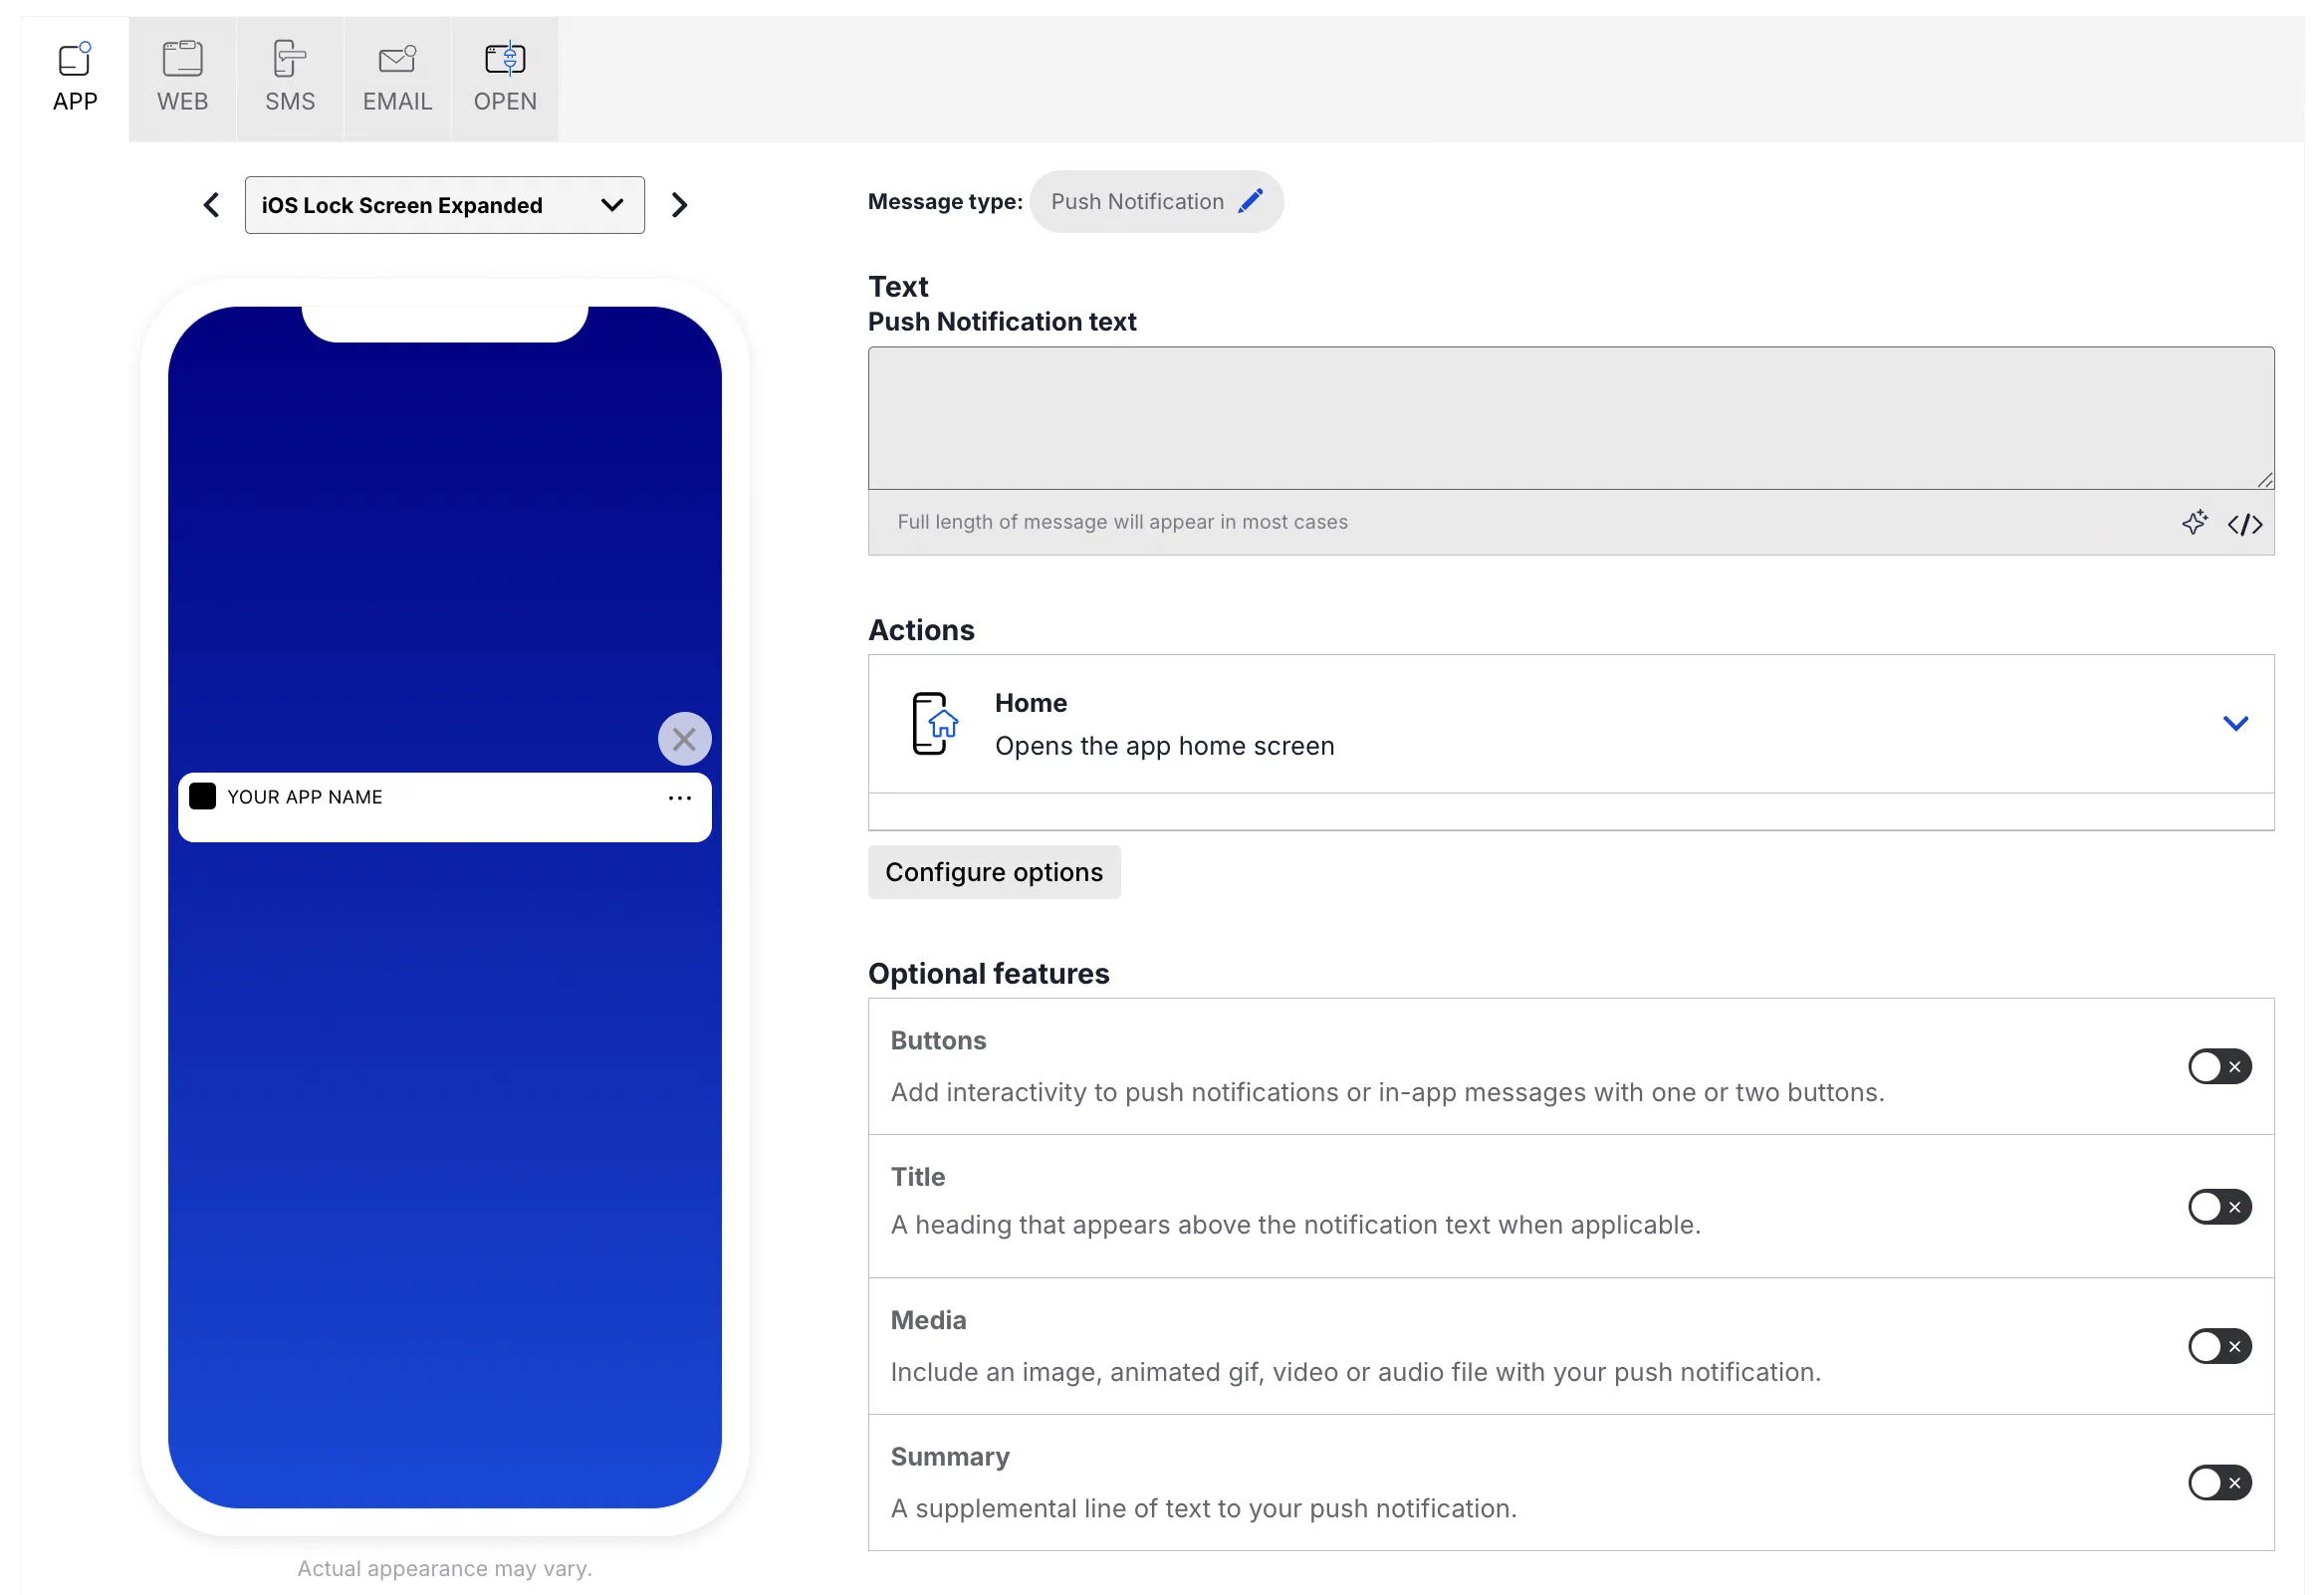 1.Enter the message text. If you are using [Handlebars](https://www.airship.com/docs/reference/glossary/#handlebars), you can test how the content will appear. See Previewing personalized content.
1. Select an [Action](https://www.airship.com/docs/reference/glossary/#action): * Home * Message Center * Landing Page * Deep Link * Adaptive Link * Web Page * Share 1. (Optional) Set and/or remove tags when the user interacts with your message.You can also assign an event value and specify string, number, or boolean property values that you can use later when filtering Custom Events. If you want to use properties, you must define the event and its properties in your project in advance. See Manage Events.
Enter a URL to add media to your notifications. See also Media guidelines.
If using a personalized media URL for an App push notification, you must specify the media type after entering the URL:
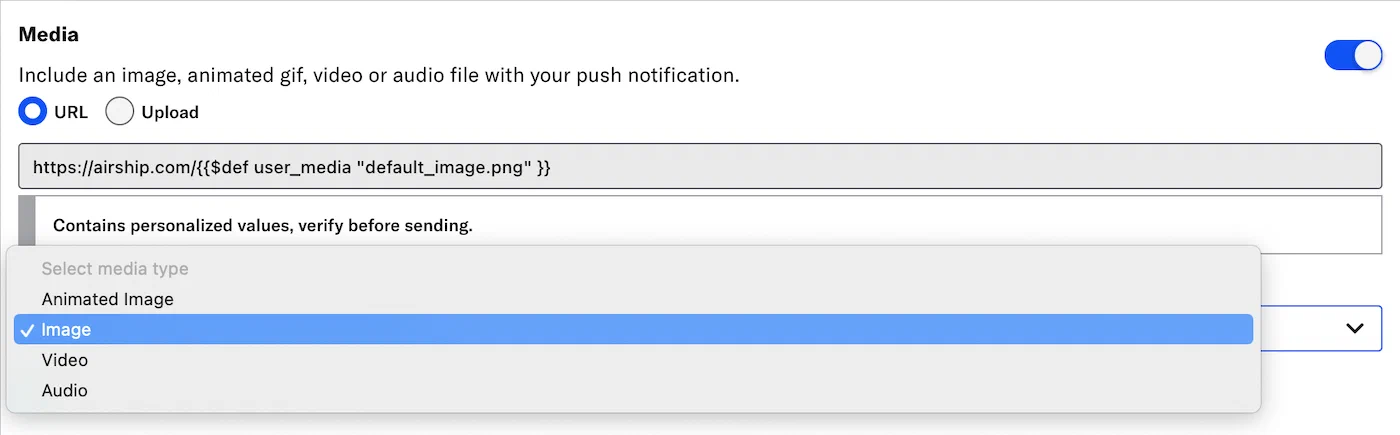 *Specifying the media type for a personalized media URL* > **Note:** When you enable both the iOS platform and one or more of Android and Fire OS, and you do not enter a static image in the initial URL field, a Static Image field is added to the media settings. Enter a URL, or use the Upload option.If your Airship plan includes CDN support, you can also upload media or select from previously uploaded media. See Insert media in message content in Media library.
### Summary Add a summary line as supplemental text displayed with the notification. * **iOS:** The summary appears below the push notification title. * **Android and Fire OS:** The summary appears below the main notification text in most cases. This is the only visible text other than the title when Android Picture is visible in expanded mode, as the main notification text is suppressed. ### Title Enter a title to create a heading that appears above the notification text in: * iOS Notification Center * Apple Watch Looks * Android and Fire OS Notification Area/Drawer ## Default notification character limits The following tables outline the maximum character counts for default notification display. ### iOS| Device | Display | Lock screen Portrait | Lock screen Landscape | Notification Center | Banner style | Alert view |
|---|---|---|---|---|---|---|
| iPhone 14 Pro Max | 6.7 in (170 mm) 2796 x 1290 px at 460 ppi |
150 chars | n/a | 150 chars | n/a | n/a |
| iPhone 14 Pro | 6.1 in (154 mm) 2556 x 1179 px at 460 ppi |
150 chars | n/a | 150 chars | n/a | n/a |
| iPhone 14 | 6.1 in (154 mm) 2532 x 1170 px at 460 ppi |
150 chars | n/a | 150 chars | n/a | n/a |
| iPhone 14 Plus | 6.7 in (170 mm) 2778 x 1284 px at 458 ppi |
150 chars | n/a | 150 chars | n/a | n/a |
| iPhone 13 Pro Max | 6.7 in (170 mm) 2778 x 1284 px at 458 ppi |
150 chars | n/a | 150 chars | n/a | n/a |
| iPhone 13 Pro | 6 in (152 mm) 2532 x 1170 px at 460 ppi |
150 chars | n/a | 150 chars | n/a | n/a |
| iPhone 13 | 6.1 in (152 mm) 2340 x 1080 px at 460 ppi |
150 chars | n/a | 150 chars | n/a | n/a |
| iPhone 13 mini | 5.4 in (127 mm) 2340 x 1080 px at 476 ppi |
150 chars | n/a | 150 chars | n/a | n/a |
|
iPhone 12 Pro Max
|
6.6 in (169 mm) 2532 × 1170 px at 470 ppi |
150 chars | n/a | 150 chars | n/a | n/a |
|
iPhone 12 Pro
|
6.6 in (169 mm) 2532 × 1170 px at 470 ppi |
150 chars | n/a | 150 chars | n/a | n/a |
| iPhone 12 | 6 in (154 mm) 2532 x 1170 px at 460 ppi |
150 chars | n/a | 150 chars | n/a | n/a |
| iPhone 12 mini | 5.4 in (137 mm) 2340 x 1080 px at 476 ppi |
150 chars | n/a | 150 chars | n/a | n/a |
|
iPhone SE (2nd generation) |
4.7 in (119 mm) 1334 × 750 px at 326 ppi |
150 chars | n/a | 150 chars | n/a | n/a |
| iPhone 11 Pro Max | 6.4 in (164 mm) 2688 x 1242 px at 458 ppi |
150 chars | n/a | 150 chars | n/a | n/a |
| iPhone 11 Pro | 5.8 in (148 mm) 2436 x 1125 px at 458 ppi |
150 chars | n/a | 150 chars | n/a | n/a |
| iPhone 11 | 6 in (154 mm) 1792 x 828 px at 326 ppi |
150 chars | n/a | 150 chars | n/a | n/a |
| iPhone XS Max | 6.5 in (165 mm) 2688 x 1242 px at 458 ppi |
150 chars | n/a | 150 chars | n/a | n/a |
| iPhone 6/6S/7 Plus | 5.5 in (140 mm) 1920 x 1080 px at 401 ppi |
156 chars | n/a | 156 chars | 98 chars | 1,283 chars, scroll for more |
| iPhone 6/6S/7 | 4.7 in (120 mm) 1334 x 750 px at 326 ppi |
148 chars | n/a | 148 chars | 89 chars | 1,217 chars, scroll for more |
|
iPhone 5/5C/5S
iPod touch (5th/6th generation) |
4 in (100 mm) 1136 x 640 px at 326 ppi |
119 chars | n/a | 119 chars | 74 chars | 1,013 chars, no scroll |
|
iPhone 4/4S
iPod touch (4th generation, A1367) |
3.5 in (89 mm) 960 x 640 px at 326 ppi |
114 chars | n/a | 166 chars | 43 chars | 153 chars, no scroll |
| iPad Air (3rd generation) | 10.5 in (267 mm) 2224 x 1668 px at 264 ppi |
220 chars | n/a | 220 chars | n/a | n/a |
| iPad mini (1st generation, A1432) | 7.9 in (200 mm) 1024 x 768 px at 163 ppi |
211 chars | 220 chars | 229 chars | 124 chars | Portrait: 1,957 chars, Landscape: 1,417 chars |
| Device | Display | Lock screen Portrait | Lock screen Landscape |
Notification drawer Default notification Big text style |
Notification drawer System notification |
|---|---|---|---|---|---|
| Nexus 9 tablet | 8.9 in (230 mm) 2048 x 1536 px at 287 ppi |
44 chars | 44 chars | 536 chars | 44 chars |
| Nexus 7 tablet 2013 version | 7.02 (178 mm) 1920 x 1200 px at 323 ppi |
42 chars | n/a | 509 chars | 42 chars |
| Nexus 6P phone | 5.7 in (140 mm) 1440 x 2560 px at 518 ppi |
37 chars | n/a | 444 chars | 37 chars |
| Nexus 5X phone | 5.2 in (130 mm) 1080 x 1920 px at 423 ppi |
46 chars | n/a | 562 chars | 46 chars |
| Nexus 6 phone | 5.96 in (151 mm) 1440 x 2560 px at 493 ppi |
37 chars | n/a | 444 chars | 37 chars |
| Nexus 5 phone | 4.95 in (126 mm) 1080 x 1920 px at 445 ppi |
37 chars | n/a | 444 chars | 37 chars |
| Nexus 4 phone | 4.7 in (120 mm) 768 x 1280 px at 320 ppi |
40 chars | n/a | 482 chars | 40 chars |