The first step in adding content to a landing page or Message Center message is choosing an editor.
Use the Interactive editor to do any of the following:
After selecting Interactive Editor, you also have the option to select a [Template](https://www.airship.com/docs/reference/glossary/#template).
 *Designing content the using the WYSIWYG option in the Interactive editor*Use the Visual editor to do any of the following:
When creating messages, you configure its appearance in the Content step. In the Delivery step, you can configure content-related features that do not affect the appearance of the message.
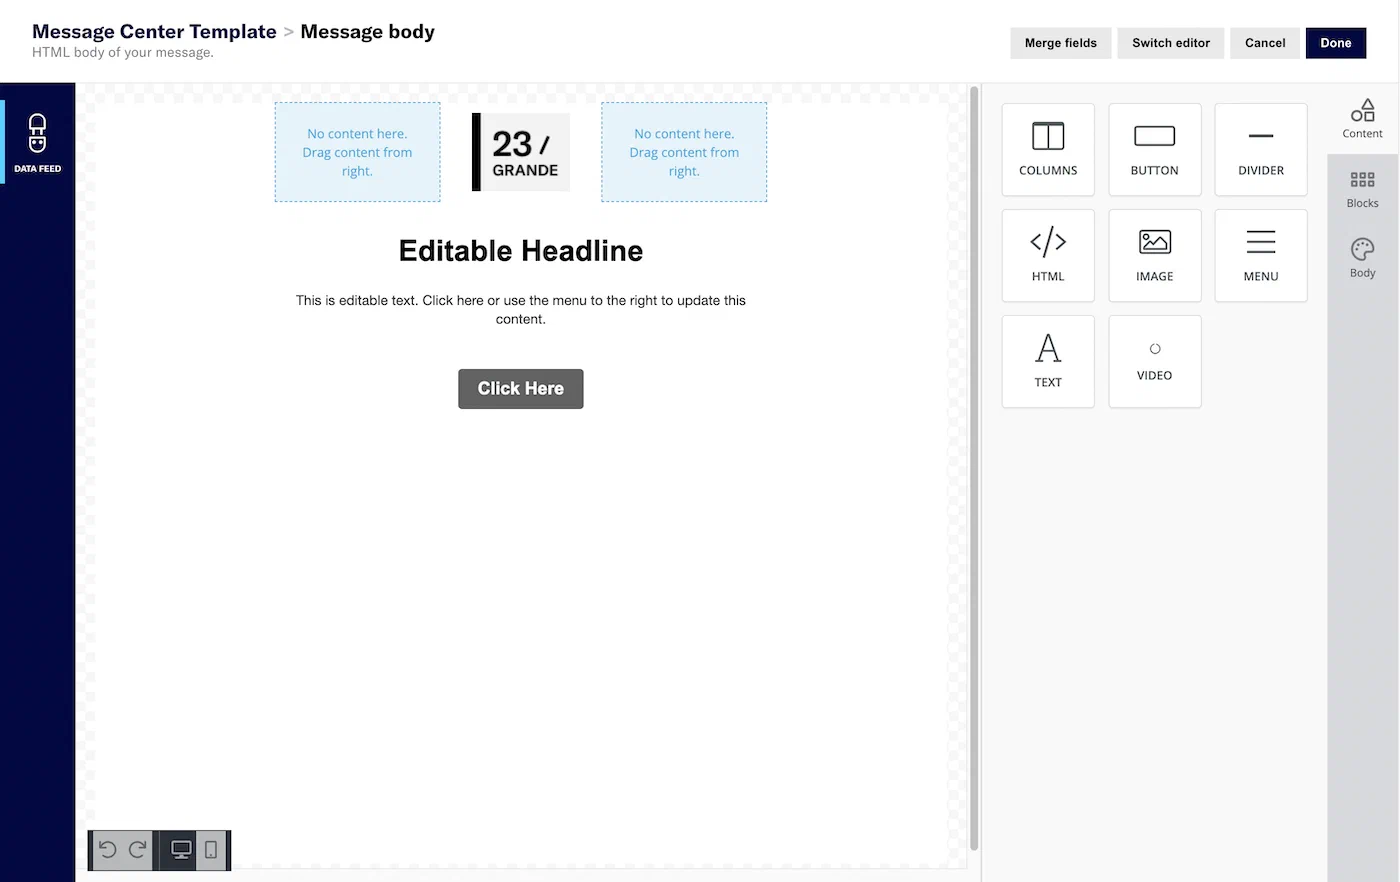
In the *Content* step, click **Message Center** then **Add content**: 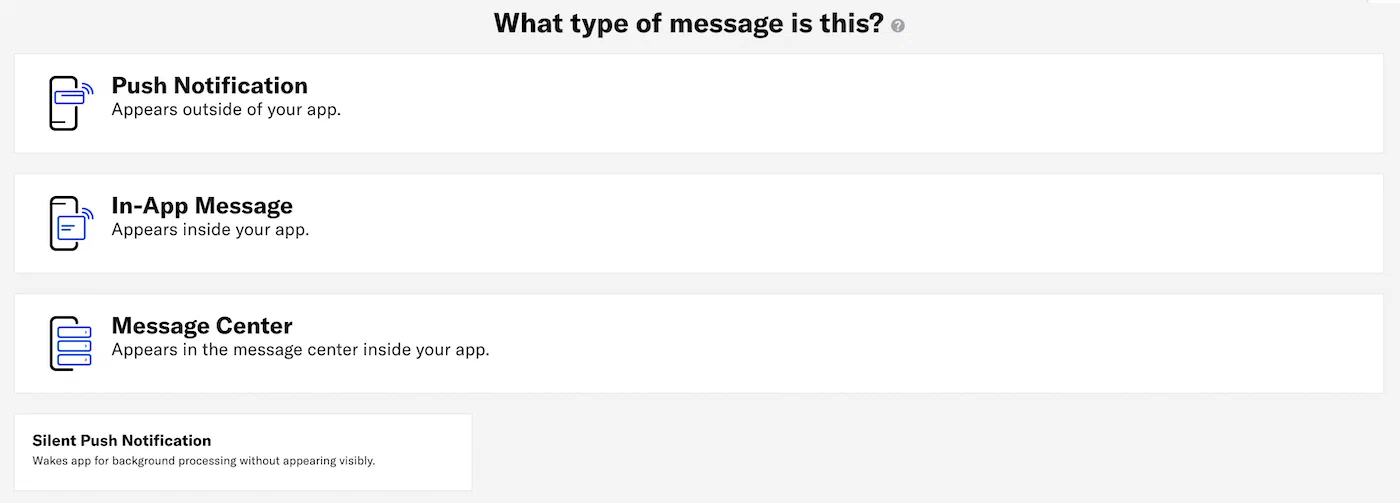 Then click **Interactive editor » Add content » Edit**. Now you can configure the message content: 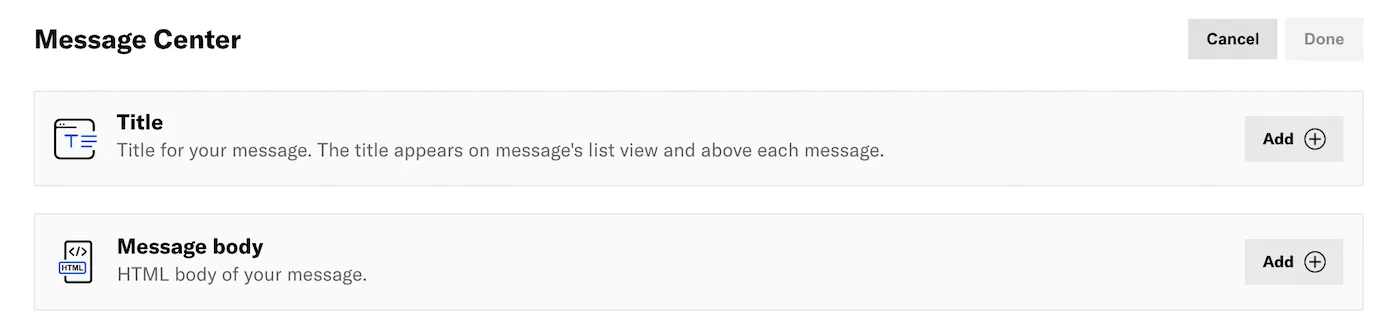 If your message includes [Handlebars](https://www.airship.com/docs/reference/glossary/#handlebars), you can preview how the content will appear. See [Previewing personalized content](https://www.airship.com/docs/guides/personalization/previewing/). 1. Add a *Title*. 1. Click **Add **. 1. Enter a title. 1. Click **Done**. 1. Add the *Message body*. 1. Click **Add **.Select Settings in the left sidebar.
Enter the HTTPS URL of an image. See Media guidelines.
If your Airship plan includes CDN support, you can also upload media or select from previously uploaded media. See Insert media in message content in Media library.
When creating messages, you configure its appearance in the Content step. In the Delivery step, you can configure content-related features that do not affect the appearance of the message.
In the *Content* step, click **Message Center** then **Add content**:  Then click **Visual editor » Create**. Now you can configure the message content: 1. Select a template or the upload option. * For **HTML**, click **Select** for *Upload* under *Standard Templates*. * For **templates**, click **Preview** for a template and select devices at the top of the screen to see how it will appear, then click **Select** for the template you want to use. * *Standard Templates* are *Text*, *Image*, and *Video*. See: [Standard templates](#standard-templates). * Templates added for you by Airship are listed under *Custom Templates*. 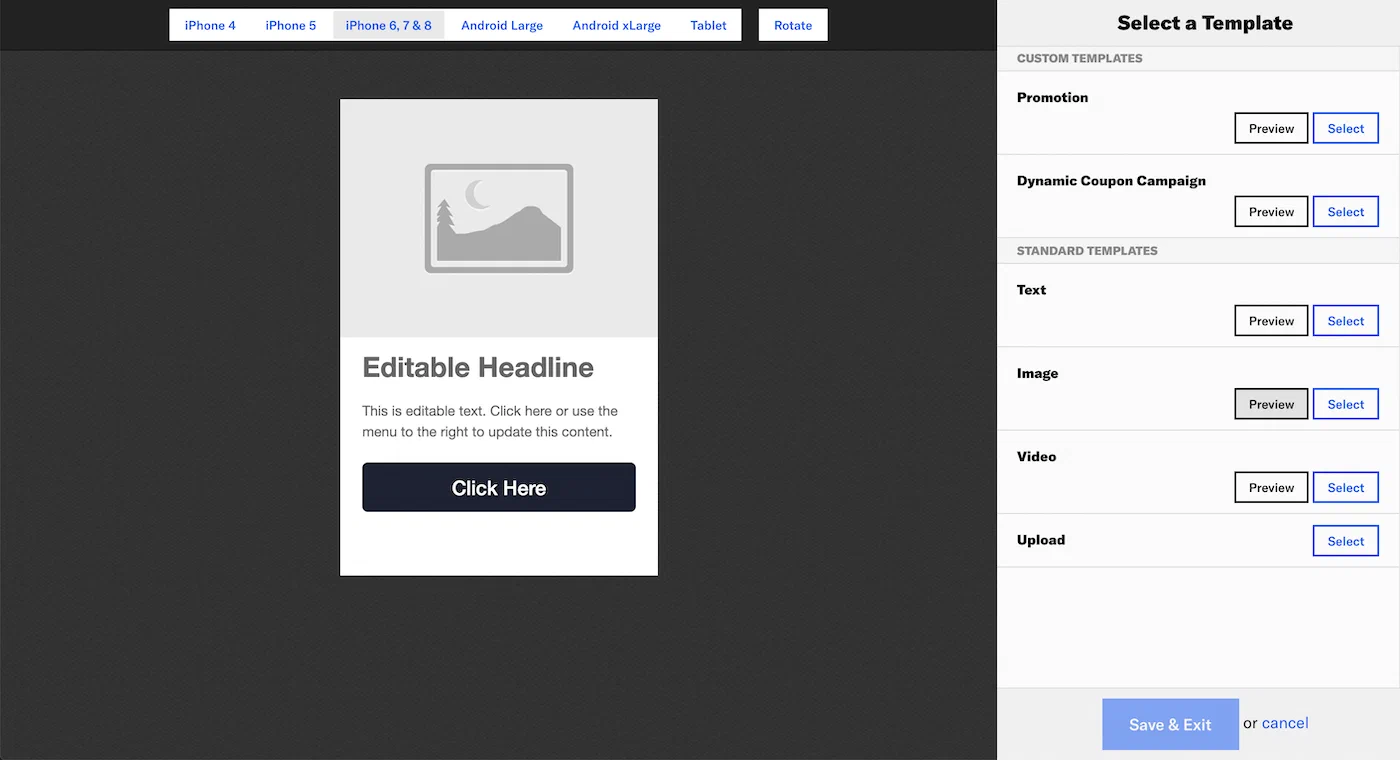 1. Configure the *Message Center* tab to determine the message preview that appears in the Message Center inbox. * **Message Center Title** — Required. Enter text. * **Thumbnail** — Upload an image. See: [Media guidelines](https://www.airship.com/docs/reference/messages/media-guidelines/). * **Lines 1 and 2** — These lines appear below the title. Enter text. 1. Configure the *Content* tab to create the message body. * For **HTML**, upload your HTML file. * For **templates**, configure the fields for each page element. See: [Field configuration](#field-configuration). You can click to select fields in the preview or select directly from the side menu. Use the *ON/OFF* toggle in the upper right corner to enable/disable an element. 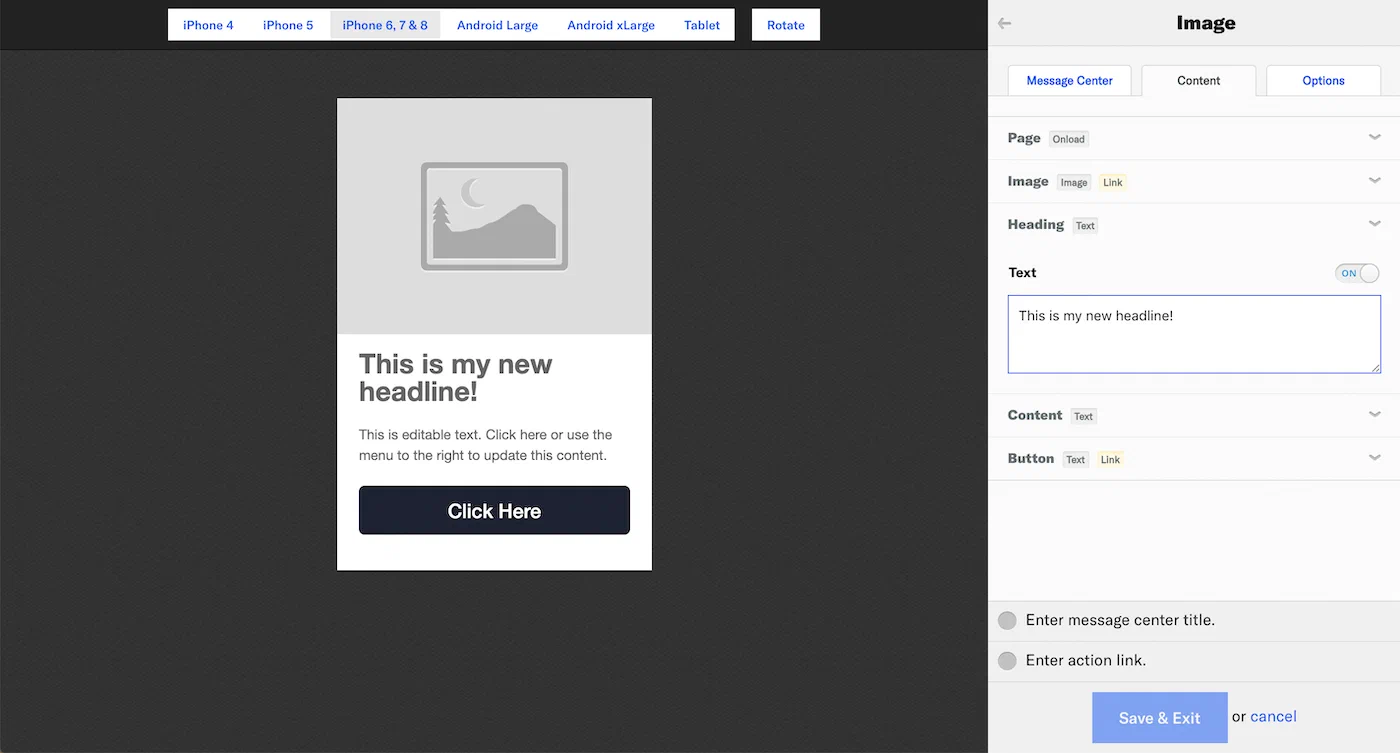 1. Configure the *Options* tab. * **Remove from Message Center** — By default, messages are set to *Never* expire. To set expiration, select *Specify* and enter the number of minutes, hours, or days after send time when the page will expire. Expired messages are removed from users' inboxes. * [Custom Keys](https://www.airship.com/docs/reference/glossary/#custom_keys) — Enter the key and value. Click for additional keys. > **Tip:** If your Message Center is set up with [Named User](https://www.airship.com/docs/reference/glossary/#named_user) filtering, include a custom key with `named_user_id` as the key and the user's actual ID as the value. > > See information about filtering by Named User in the Message Center documentation for [SDK integrations](https://www.airship.com/docs/developer/sdk-integration/). 1. Click **Save & Exit**. * You cannot save until your page meets minimum configuration requirements. Requirements are listed above **Save & Exit**. * If your template includes a button or image, you must configure or disable its *Action Link* before you can save. Now you are ready to complete the remaining steps in the composer. ### Standard templates and fields {#standard-templates}Airship provides three default (labeled “Standard”) templates: Text, Image, and Video.
| Element | Fields | Text template | Image template | Video template |
|---|---|---|---|---|
| Page | Onload | ✓ | ✓ | ✓ |
| Headline | Text | ✓ | ✓1 | ✓ |
| Content | Text | ✓ | ✓ | ✓ |
| Button | Text, Link | ✓ | ✓ | |
| Image | Image, Link | ✓ | ||
| Video | Video | ✓ |
1. Labeled “Heading” in the Image template.
### Field configuration {#field-configuration}Elements in a template are controlled by various fields. Both custom and standard templates use the same field types, requirements, and configuration:
Text — Displayed in a headline, message body, button label, etc. Enter text.
Image — Displayed in the body of the message. Upload an image. See: Media guidelines.
Video — Displayed in the body of the message. Enter the URL for the video source. See: Media guidelines.
Onload — Add or remove tags when the content loads.
Link — The action that occurs when a user taps a button or image in the message. Select and configure an [Action](https://www.airship.com/docs/reference/glossary/#action): Deep Link, URL, or Share.
You can also add or remove a tag when your audience taps the button or image. Follow the process as described for Onload above. > **Important:** * Images have *Action Link* enabled by default. This makes the image perform as a button. If you don't want the image to be clickable, disable *Action Link* for the image. > * While you can disable the *Action Link* for buttons, doing so does not remove the button itself. Because you must configure or disable the *Action Link* to save a template, you can disable it if you want to edit the message later.
Message Center inboxes are associated with channel IDs. On Android, reinstalling an app creates a new channel ID. Messages previously available in an Android user’s inbox will no longer be available after app reinstall.
## Hosting and page sizeContent is hosted in a CDN, ensuring responsive load times for your users globally. Hosted content — including embedded CSS, images and JavaScript — is limited to 1.5 MB, however the ideal page size is much smaller, given the potential for degraded download speeds on cellular networks. We recommend that you optimize your images and HTML to keep total page sizes under 100 KB.
If you have additional assets to load, you can host them in another location and link to them. Airship offers additional asset hosting options as a Professional Service. Contact Airship Sales for more information.
## Welcome Message You can create a default message that appears in every new user's Message Center inbox when they open your app for the first time: 1. Go to **Messages**, then **Welcome Message**. 1. Enter a message title. 1. Enter HTML for the message body. 1. Select **Save**. After saving, you have the option to delete the message. ## Remove a message from a Message Center You can remove messages from the Message Center inbox from the dashboard. > **Warning:** Removing a message from a Message Center is irreversible. 1. Go to **Messages**, then **Messages Overview**. 1. Click for the message you want to remove. 1. Click **Remove from inbox** and confirm. After removal, *Removed from inbox* and the removal date, time, and time zone appears in these locations: * [Messages Overview](https://www.airship.com/docs/reference/glossary/#messages_overview) — Message Details expanded view * [Message report](https://www.airship.com/docs/guides/reports/message/) — Header