Message Center content
Create messages for your Message Center inbox.
See also the Message Center feature guide.
Select the message type and editor
When creating messages, you configure their appearance in the Content step. In the Delivery step, you can configure content-related features that do not affect the appearance.
In the Content step, first select whether to send the message on its own or with another message type:
- To send only a Message Center message, select Message Center, then Add content.
- To open the Message Center message when a user interacts with a different message type, select Push Notification, In-App Message, or both, then Add content. Under Actions, select Message Center.
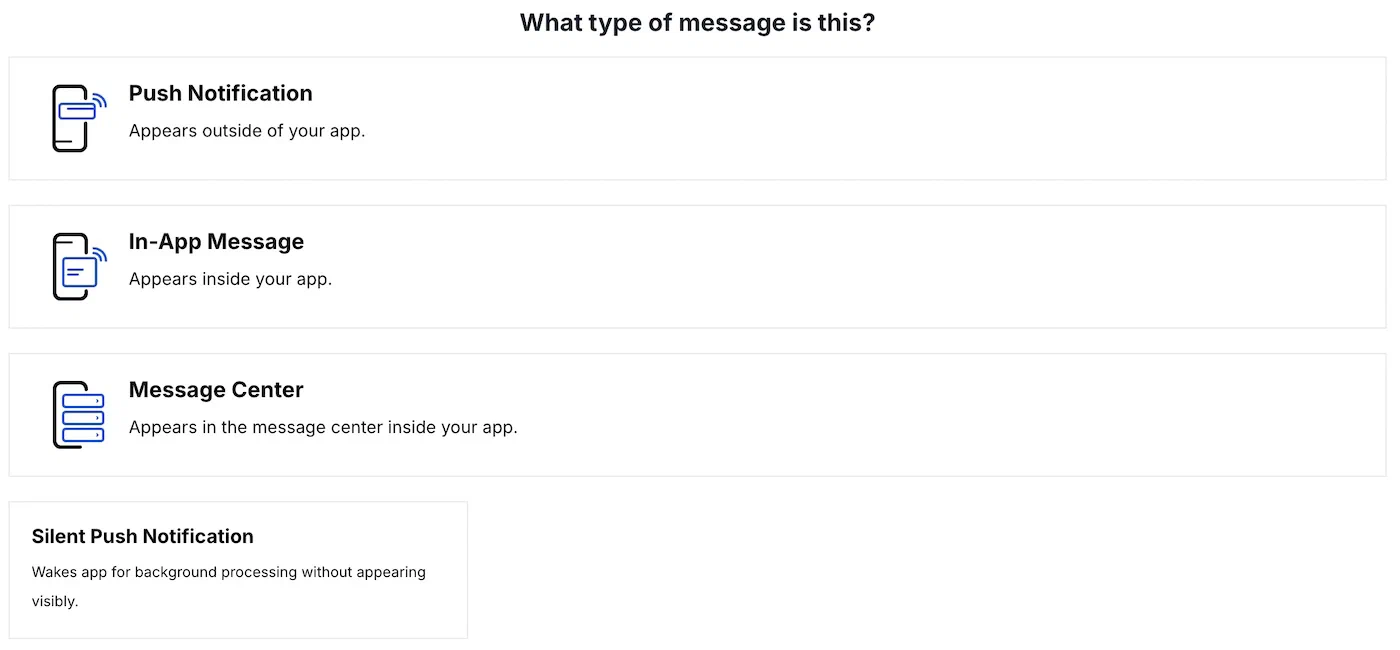
Next, select an editor for creating content:
- Scenes editor — Use a SceneA mobile app or web experience of one or more screens displayed with fully native UI components in real time, providing immediate, contextual responses to user behaviors. Scenes can be presented in full-screen, modal, or embedded format using the default swipe/click mode or as a story. Scene content can also be displayed in a Message Center message and contain survey questions. for your message content.
- Interactive editor — Provide your own HTML or design using drag-and-drop.
- Visual editor (Legacy) — Upload HTML or design a page using a template.
For information about each, see Content editors.
Scenes editor
AXP iOS SDK 20.10+Android SDK 20.9+
To use the Scenes editor for Message Center content, you must first create a template, then select it for your message. You can create Scene templates in advance or as you create your message.
After selecting the Scenes editor, select an existing template or create a new one:
- To use an existing template, select it, then Continue with selected template. You can search by name, keyword, or ID.
- To create a new template, select Create a new template, then follow the steps in Create a content template in the dashboard. After saving, you return to the message with your new template selected.
Message content fills the full Message Center view on the device. The device preview in the editor does not reflect this, so test on a device to verify appearance.
See Inbox preview for information about setting the inbox image and subtitle.
Scene features include tracking and analytics functionalities. Depending on your implementation, these features may store or access information on end users’ devices. Different locations may have varying legal and privacy requirements regarding tracking technologies and user consent. Please verify with your legal or regulatory compliance team that your use of Scenes, including any tracking and analytics configurations, complies with applicable consent and transparency requirements under local laws and regulations.
This content is provided for informational purposes only and is not intended to be, nor should be relied on as, legal or compliance advice.
Interactive editor
After selecting the Interactive editor, select Add content, then under Create Content, select Edit. Now you can configure the message content:
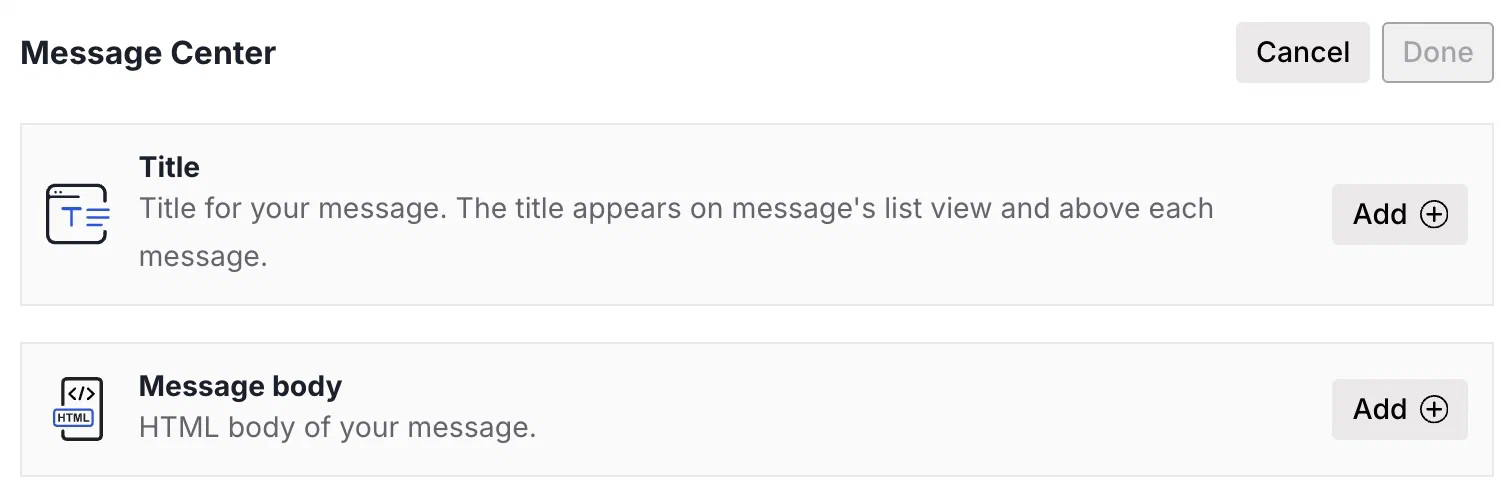
Select Add for the title and message body. For the title, enter text. For the message body:
- For HTML, select the paste or upload option and add your HTML.
- For drag-and-drop, select a default or saved layout, or select Blank Layout to design your own. Then you can design your content. See Styling and formatting in the Interactive editor. You can edit any layout after selecting.
Select Done to exit the editor.
See Inbox preview for information about setting the inbox image and subtitle.
Visual editor
After selecting the Visual editor, under Rich Page, select Create. Now you can configure the message content. See Visual editor.
Inbox preview
Each message displays its title in the inbox. You can also add a thumbnail image and a subtitle.
When using the Interactive or Scenes editors, you set them in separate places:
Image — Add the preview image when editing the title. In the Interactive editor, you can also add it when editing the message body. Select Settings in the left sidebar, and enter the HTTPS URL of an image. See Media guidelines.
If your Airship plan includes CDN support, you can also upload media or select from previous uploads in your project’s media library. See Insert media in message content in Media library.
Subtitle — Set the preview subtitle as a custom key in the Delivery step of your message. See Custom keys for Message Center in Delivery options.
In the Visual editor, you set both when configuring your message content. See Using the editor in Visual editor.
Android app reinstallation
Message Center inboxes are associated with channel IDs. On Android, reinstalling an app creates a new channel ID. Messages previously available in an Android user’s inbox will no longer be available after app reinstall.
Hosting and page size
Content is hosted in a CDN, ensuring responsive load times for your users globally. Hosted content — including embedded CSS, images and JavaScript — is limited to 1.5 MB, however the ideal page size is much smaller, given the potential for degraded download speeds on cellular networks. We recommend that you optimize your images and HTML to keep total page sizes under 100 KB.
If you have additional assets to load, you can host them in another location and link to them. Airship offers additional asset hosting options as a Professional Service. Contact Airship Sales for more information.
Welcome Message
You can create a default message that appears in every new user’s Message Center inbox when they open your app for the first time:
- Go to Messages, then Welcome Message.
- Enter a message title.
- Enter HTML for the message body.
- Select Save.
After saving, you have the option to delete the message.
Remove a message from a Message Center
Removing a message from a Message Center is irreversible.
Remove Message Center messages from users’ inboxes. For an active Automation, Sequence, or recurring message, pause or stop it first. Only messages already delivered at the time of the request are removed. Messages delivered afterward remain in users’ inboxes.
Remove a message from an inbox from a Messages Overview:
- Go to Messages, then Messages Overview.
- Select the remove from inbox icon for the message you want to remove. In the expanded view, the icon is labeled Remove from inbox.
Remove a message from an inbox from a message report:
- Go to Messages, then Messages Overview.
- Select the report icon () for the message or Sequence. For Sequences, this opens the Performance report.
- (For Sequences only) Select the report icon () for the message you want to remove. This opens its message report.
- Select the remove from inbox icon.
Remove messages using the API
Use the Push API to remove Message Center messages from every user’s inbox:
- Delete message from inbox — Remove a single message by
message_idorpush_id. This endpoint does not accept a group ID. - Delete multiple messages from inbox — Remove up to 50 messages per request. Provide either
message_idsorgroup_ids, but not both. Usegroup_idsfor Automations, messages in Sequences, recurring messages, or push to local time. When you provide a group ID, only messages already delivered are removed. Messages delivered later remain in the inbox.
Both endpoints are asynchronous. A success response means the deletion has been queued for processing.
Enable Message Center
Message Center is enabled by default for new projects. If it does not appear when creating messages, enable it in your project settings:
- Next to your project name, select the dropdown menu (), then Settings.
- Under Project settings, select Dashboard Settings.
- Enable Message Center and Message Center, Landing Page, Deep Link, URL, and Add Tags.