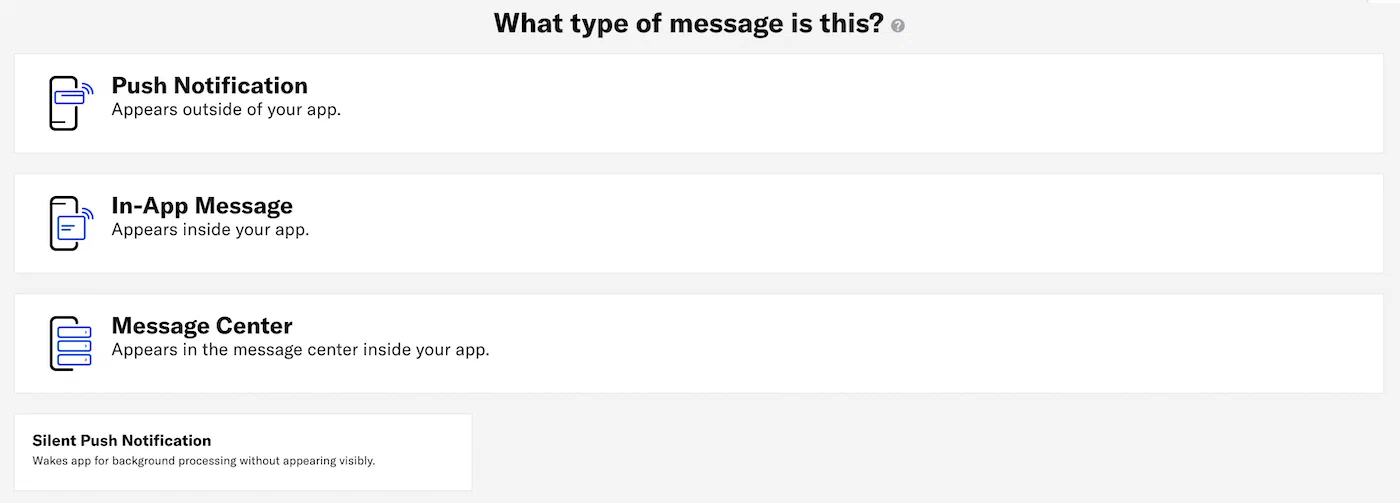
# In-app message content
Send in-app messages to your App channel.
See also the [In-app messages](https://www.airship.com/docs/guides/features/messaging/in-app-messages/) feature guide.
## Setting design defaults
You can set the default colors, message position, and duration of your in-app messages:
1. Next to your project name, select the dropdown menu (
), then **Settings**.
1. Under **App settings**, select **In-App Message Design**.
1. Configure the message design. Colors are hexadecimal color values.
* **Primary Color** is the color of the button text and message background.
* **Secondary Color** is the color of the message text, button background, and certain UI elements, e.g., the drawer pull on iOS.
* **In-App Message Position** controls whether the in-app message displays at the top or bottom of the screen.
* **In-App Message Duration** is the amount of time that the in-app message displays on the screen. The default is 15 seconds. Otherwise, select *Specify*, enter a numerical value, and select *Seconds* or *Minutes*.
1. Select **Save**.
Additional customization may be made via the SDK. See the [SDK integrations documentation](https://www.airship.com/docs/developer/sdk-integration/).
## Creating content
When creating messages, you configure its appearance in the Content step. In the Delivery step, you can configure content-related features that do not affect the appearance of the message.
In the *Content* step, click **In-App Message** then **Add content**:
Now you can configure the body of the message:
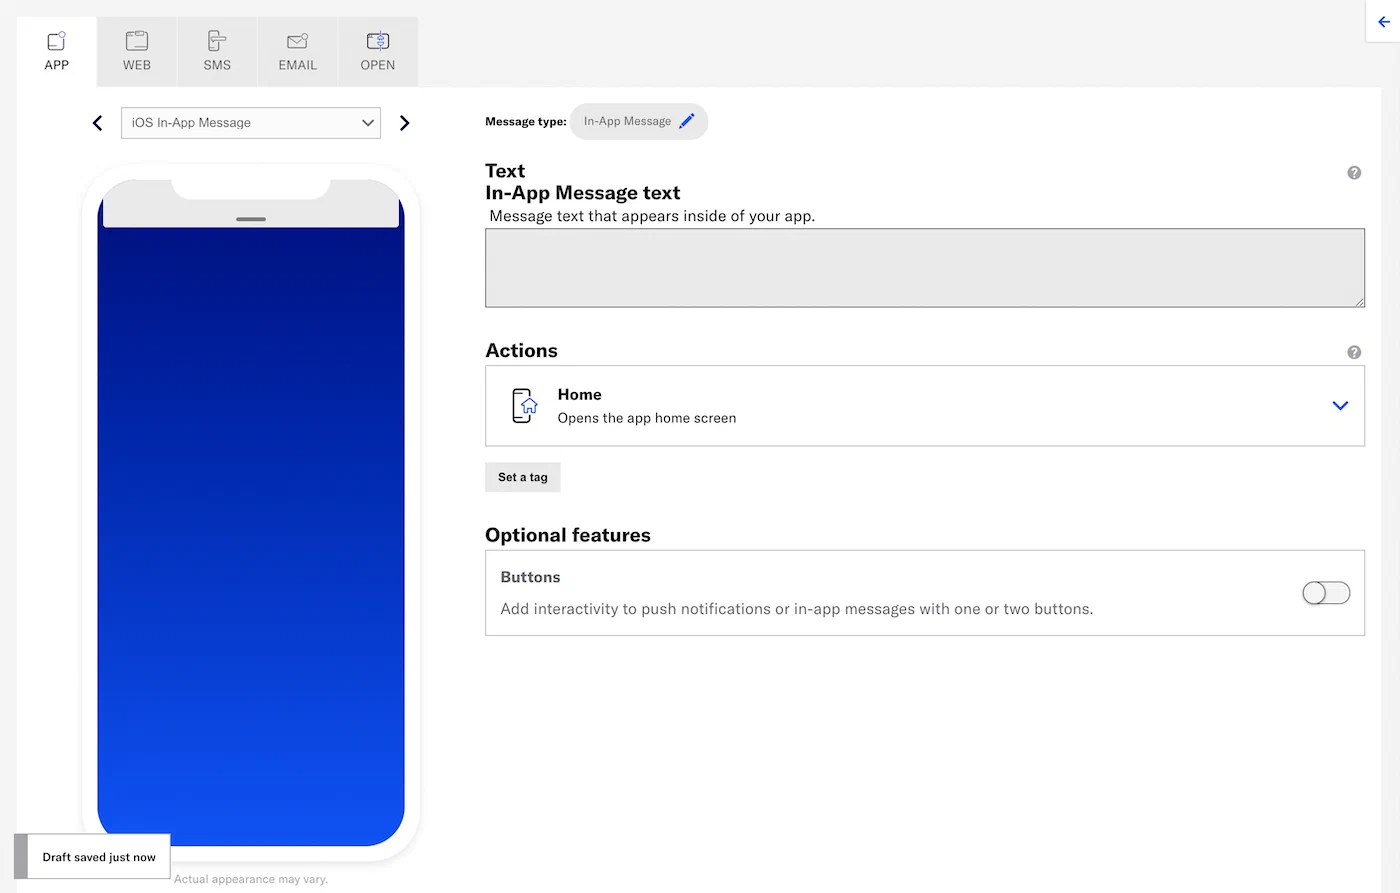
1. Enter the message text. If you are using [Handlebars](https://www.airship.com/docs/reference/glossary/#handlebars), you can test how the content will appear. See Previewing personalized content.
1. Select an [Action](https://www.airship.com/docs/reference/glossary/#action):
* Home
* Message Center
* Landing Page
* Deep Link
* Adaptive Link
* Web Page
* Share
1. (Optional) Set and/or remove tags when the user interacts with your message.
- Click Configure options.
- Select Add tag or Remove tag, then search for tags that exist in the system, or create a new tag.
- (Optional) Click Configure another option and repeat the previous step.
> **Tip:** Setting one or more tags when a user interacts with a message can help you track user interactions for follow-on retargeting campaigns. For example, if you set a tag `responded-campaign1`, you can target users bearing the `responded-campaign1` tag with another message at a later date, knowing that they are active users. Alternatively, you can re-engage users with this tag using an automated message if they are inactive for a period of time.
1. (Optional)(iOS SDK 20+) (Android SDK 20+) Emit a custom event when the user interacts with your message. You can select an existing event or name a new one.
You can also assign an event value and specify string, number, or boolean property values that you can use later when filtering Custom Events. If you want to use properties, you must define the event and its properties in your project in advance. See Manage Events.
- Select Configure options.
- Under Options, select Emit custom event and search for an event. If no result is found, select Use <event name> to add the event to your project.
- (Optional) Set an event value and/or specify property values to filter by in segments and triggers:
- Select Add event properties, then:
- For a value, select Add event value and enter a numeric value for the event.
- For properties, select Add property, then Search for properties, and then search for a string, number, or boolean event property and enter or select a value.
- Select Save.
1. (Optional) [Add buttons](https://www.airship.com/docs/guides/messaging/messages/buttons/#add-buttons-to-message-content).
Now you are ready to complete the remaining steps in the composer.
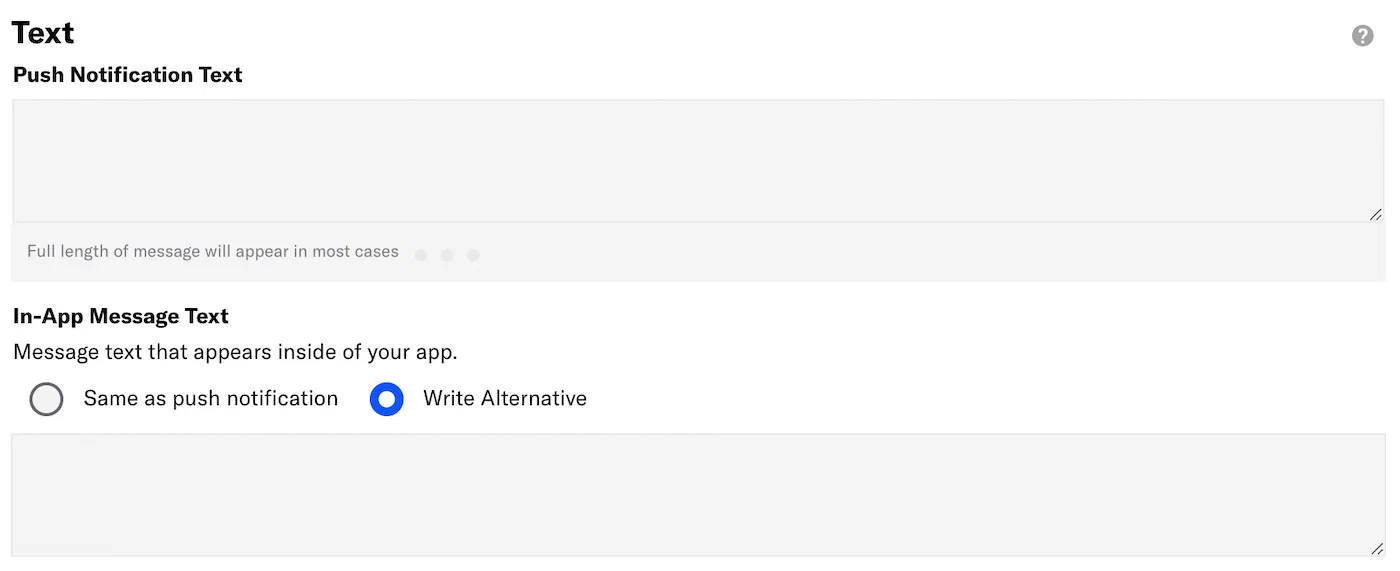
### Combining message types
When you combine a push notification and in-app message, the in-app message's alert text is the same as the push notification text by default. To use different messages, select *Write Alternative* for *In-App Message Text* and enter your text.
When you combine an in-app message with Message Center, the Message Center [Action](https://www.airship.com/docs/reference/glossary/#action) is preselected.